

I’m on board with the bone broth trend, if you can call it a trend. The higher protein content, the gelatin that is supposed to be good for gut and joints, the nutrient density- all good stuff in my book. Some weeks I’m really on top of it and sip it on an empty stomach in the morning, which I is recommended, and other weeks I reach first for coffee or tea. However, I always love having it on hand for soups, for cooking rice, and sauces or marinades.
I buy the bulk Kettle & Fire from Costco when they have it and will load my cart at the store when I notice it on sale, but let’s be honest, at $7.00-$9.00 per pint, it’s expensive. Making it at home just makes sense, especially because it’s a fairly simple process. It does take a few times of making it to perfect it to your preferences, but it’s worth the trial and error.
Benefits of Beef Bone Broth
- Contains gelatin, which can help heal and strengthen the gut lining.
- Rich in collagen, which may reduce joint pain and improve mobility.
- Contains amino acids and minerals that can boost the immune system.
- Collagen in bone broth may promote healthy and strong skin, hair, and nails.
- Contains glycine and proline, which have anti-inflammatory effects.
- High in protein, which can help you feel full and benefit muscle synthesis.
- Provides essential minerals like calcium, magnesium, and phosphorus.
- A delicious way to add flavor and nutrients to dishes.
How to Make Roasted Beef Bone Broth
You’ll want to start with beef soup bones. You can find these at the grocery store, at farmers markets, and through popular meat mail order delivery options like Butcher Box or Wild Pastures (I order from both). Ideally you want about 2-2.5 lbs of beef bones for this method. Place them in an oven safe dish and roast then at 450 degrees for 20-25 minutes. This is an optional step, but roasting the bones helps draw out collagen to better achieve that gelatinous result that you want.
Let the roasted bones cool until able to be easily handled. I let mine rest for about 30 minutes before transferring them to my slow cooker.
At this point, you can get creative and make additions based on your personal preferences. Throw in whatever you have in your freezer broth bag, where you can keep veggies scraps from meal prep to decrease food waste. You can keep things classic by adding celery, carrots, onions, garlic, bay leaves, parsley, salt and peppercorns. You can increase the gut friendly factor by adding ginger and turmeric. Play around with this step until you find the flavor you most enjoy. You can add a splash of vinegar if you like, as it is known to help pull the nutrients from the bones.
Now you have your roasted bones and veggies and flavorings of your choice in the slow cooker. To this, add water. I use water from our Cloud RO Water Filtration Unit because it tastes so good and is re-mineralized and slightly alkaline. You’re looking to add roughly 4-5 qts of water to your 2 lbs of beef bones, but this measurement does not need to be exact. From here, turn your slow cooker onto low and let the concoction slow cook for 24-48 hours.


.
When you’re broth is done cooking, turn off the heat and let it cool until it’s able to be handled. Strain into a large glass bowl, let it cool, then transfer to the fridge and let it stay there over night. The next day you will have a beautiful layer of solidified beef fat (tallow) on top. Remove the tallow, but don’t throw it away. Put it in a glass storage jar to keep in the fridge. It makes an excellent cooking companion, adding flavor and richness to dishes. Tallow has a high smoke point, making it a great and natural choice for frying, sauteing, baking, roasting, etc.
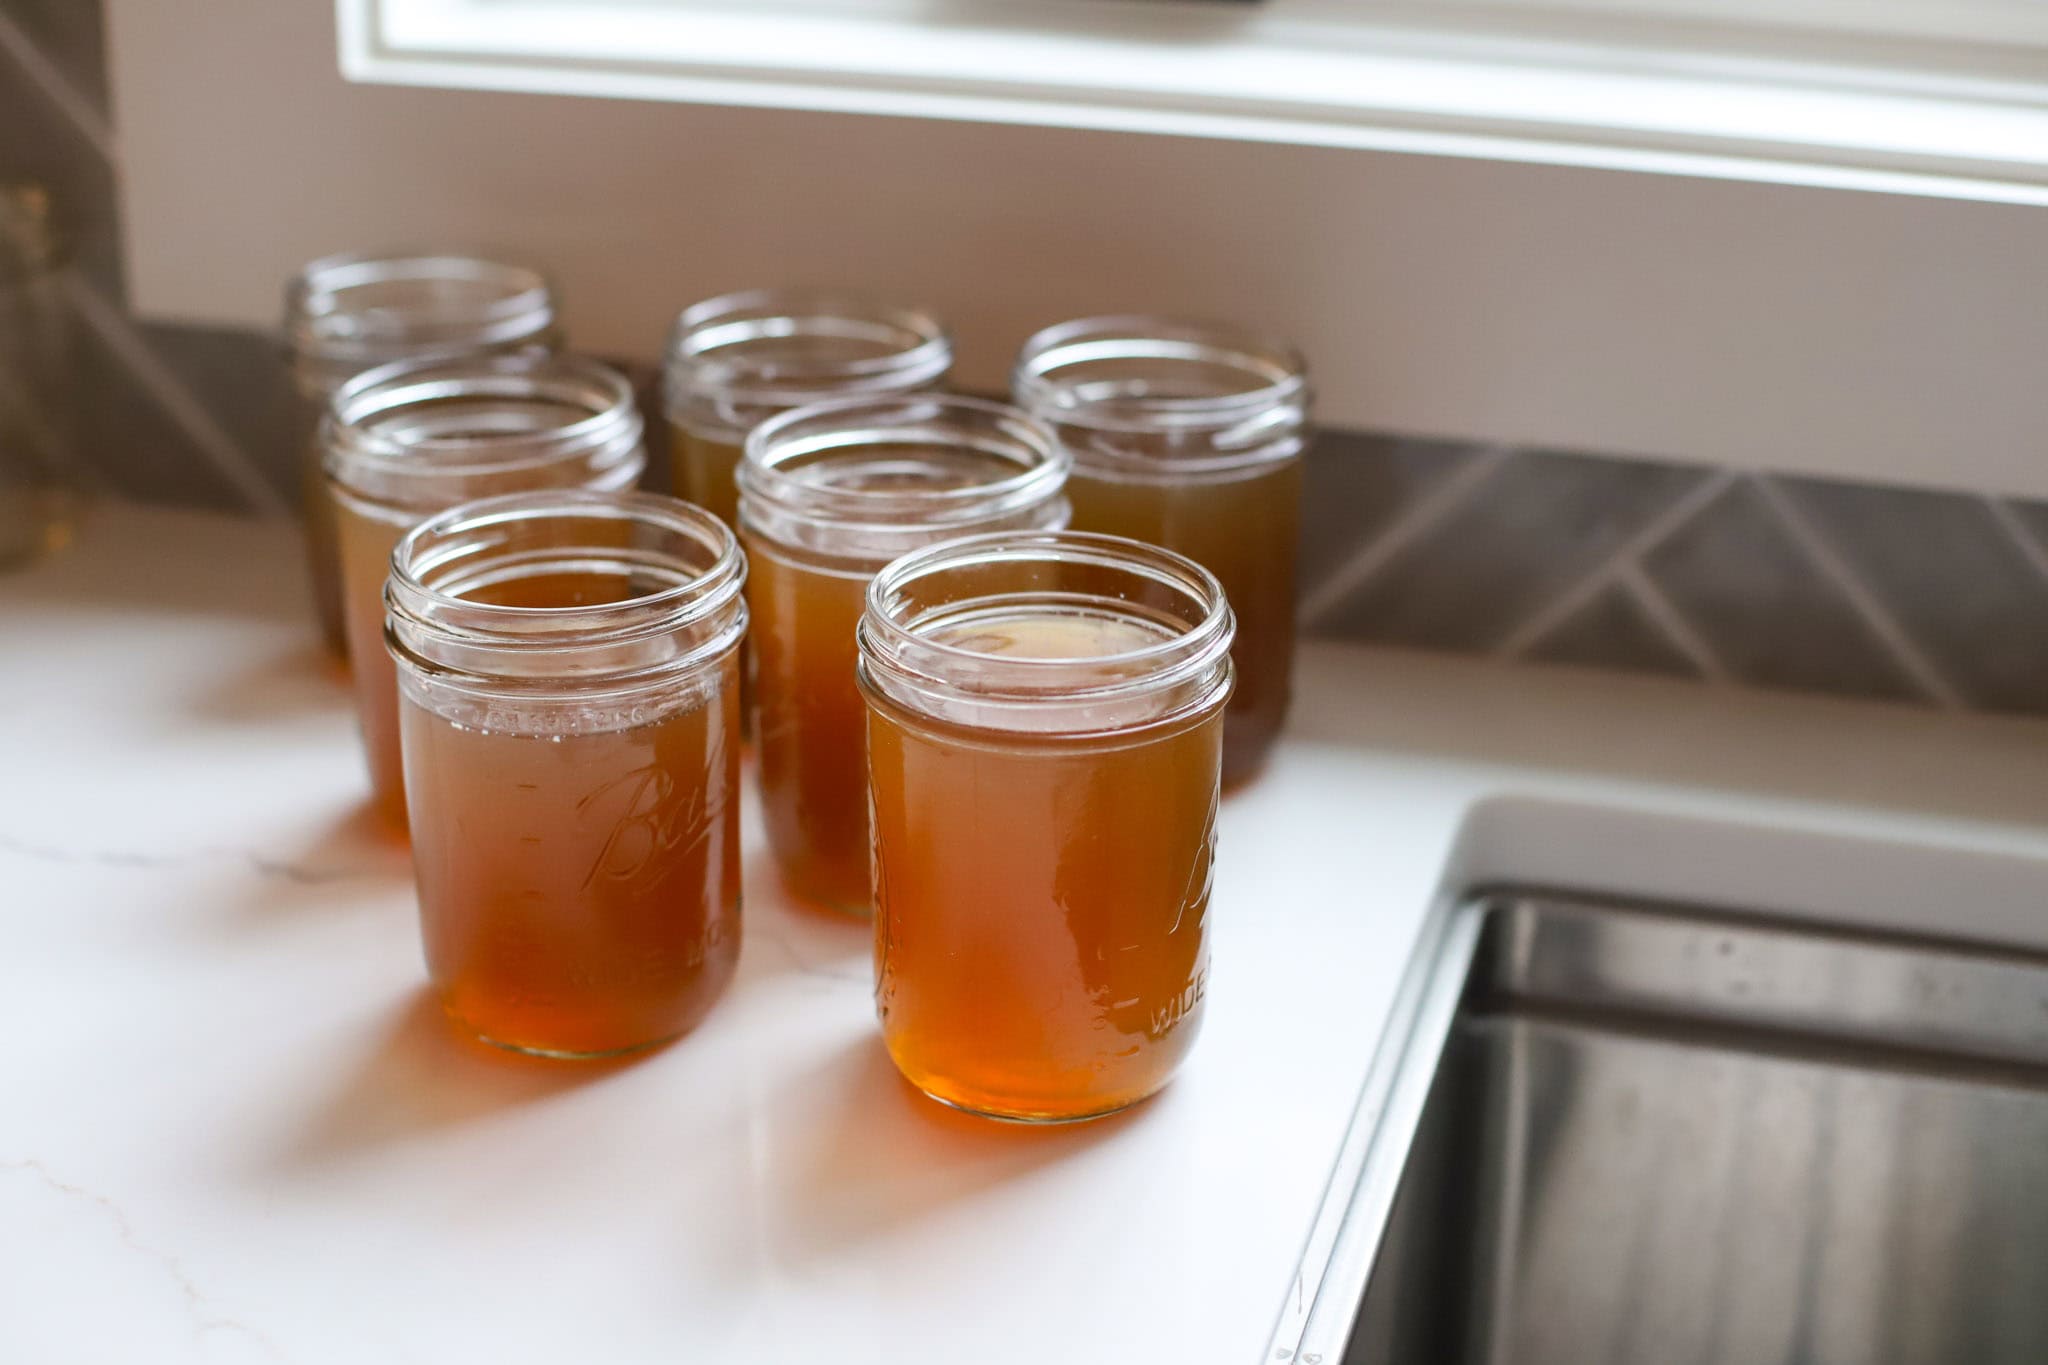
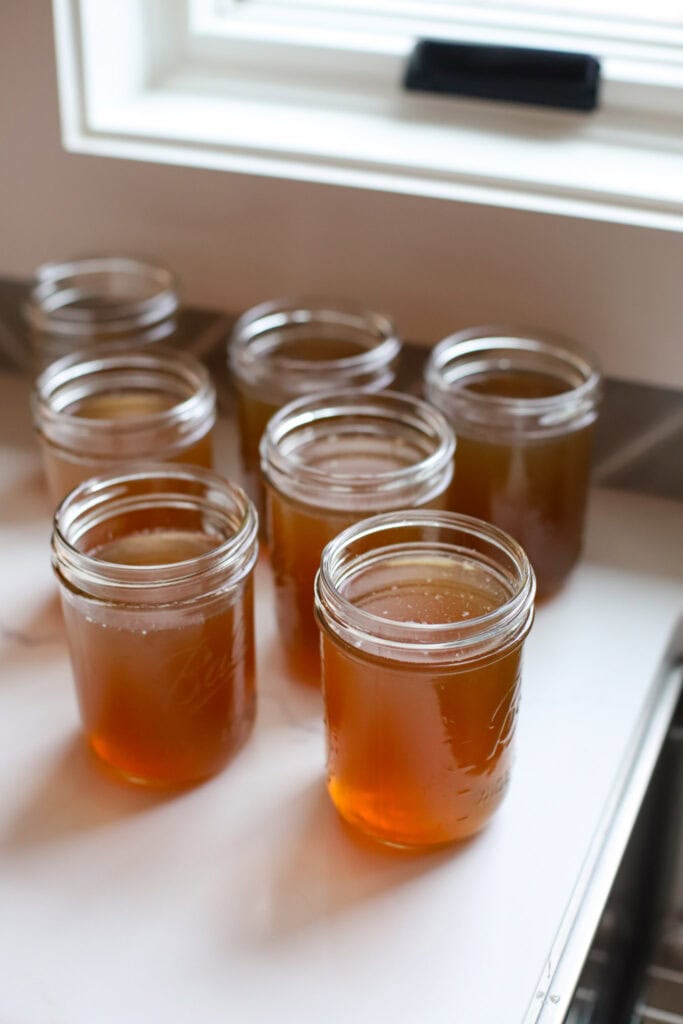
Once the tallow is tucked away, transfer your beautiful roasted beef bone broth into mason jars and store in the fridge. The bone broth is best used in 4-5 days, but you can save it for later use. I like using Souper Cubes for freezing because it is easy to measure quantity, freeze neatly, and transfer the blocks easily to freezer bags that I can label and have easily accessible for later use.
Tip: if you’re main use for the bone broth is sipping, I recommend salting it at the beginning of the process and then once it’s warm in your mug, add the juice of a half of a lemon. It brightens the flavor and makes it more enjoyable, and you get the added benefit of a boost of vitamin C.


.
Telltale Signs of a Good Bone Broth:
- Gelatinous texture when chilled: This is the most important indicator, as it shows a high concentration of collagen, the primary nutrient in bone broth. I’ve made super gelatinous batches and others that have minimal jiggle. The less gelatinous batches still can and should still be used! Play around with the cooking time until you are consistently getting the amount of jiggle you’re after. A good ratio of bone to water and a long enough cooking time are primary factors in how gelatinous your broth will be.
- Clear appearance: A good bone broth should be clear with minimal sediment at the bottom. Straining well makes a big difference. I use this strainer.
- Rich flavor: While not overly strong, the broth should have a savory, slightly meaty flavor. If you want it for sipping, I recommend adding salt in the beginning of the process, when you add the water before cooking. Adding salt afterwards won’t provide as much flavor. I keep mine unsalted if I plan to use it primarily for soups and cooking grains because I like to be able to adjust the salt content as I cook those things.


Roasted Beef Bone Broth
Description
Make your own gut-healing, joint supporting, rich and delicious beef bone broth. This simple and customizable method will take you through the process step by step to get the results you want, saving you money and nourishing your family.
2–2.5 lbs beef soup bones
4–5 qts water
*optional add ins: celery, carrots, onion, ginger, turmeric, mushrooms, peppercorns, salt
Instructions
Roast beef bones at 450 degrees for 20-25 minutes. Let cool to be able to handle.
Transfer roasted bones to your slow cooker. Add 2-2.5 qts of water. You can keep it this simple or add additional vegetables and seasonings to create the flavor profile you want.*
Slow cook for 24-48 hours. Turn off the heat and allow to cool until able to handle.
Strain the broth into a large glass bowl and place in the fridge overnight.
The next day, remove the layer of tallow and store in the fridge for cooking. Transfer the broth to glass mason jars where they will stay fresh and ready to use in the fridge for 4-5 days.
Notes
*If you want the bone broth primarily for sipping, I recommend salting the broth in the beginning, as it will be distribute the flavor than adding salt at the end.